With the From the Garden Collection, you can design your own fully customizable planner. Keep reading to see how!
Kim Oedekoven: DIY Planner Setup
I really thought about how I wanted to incorporate the ‘Things to Do’ Acrylic wipe-off board included in the From the Garden Stationary Kit. Knowing that if it was on my desk on a clipboard I wouldn’t use it as much, but on the front of my planner, now that would be perfect!
With the text being white, I decided to use the kraft cover of my From the Garden Daisy Standard Notebook as the background. And since the acrylic sheet is so thick and sturdy, cutting and punching the pages for a wire-o bind this month was the perfect solution. To make it pop off the page even more, I used a marker to transfer the ink to the paper and then added a rub-on from the Cocoa Daisy Planner Add on Kit for dimension.
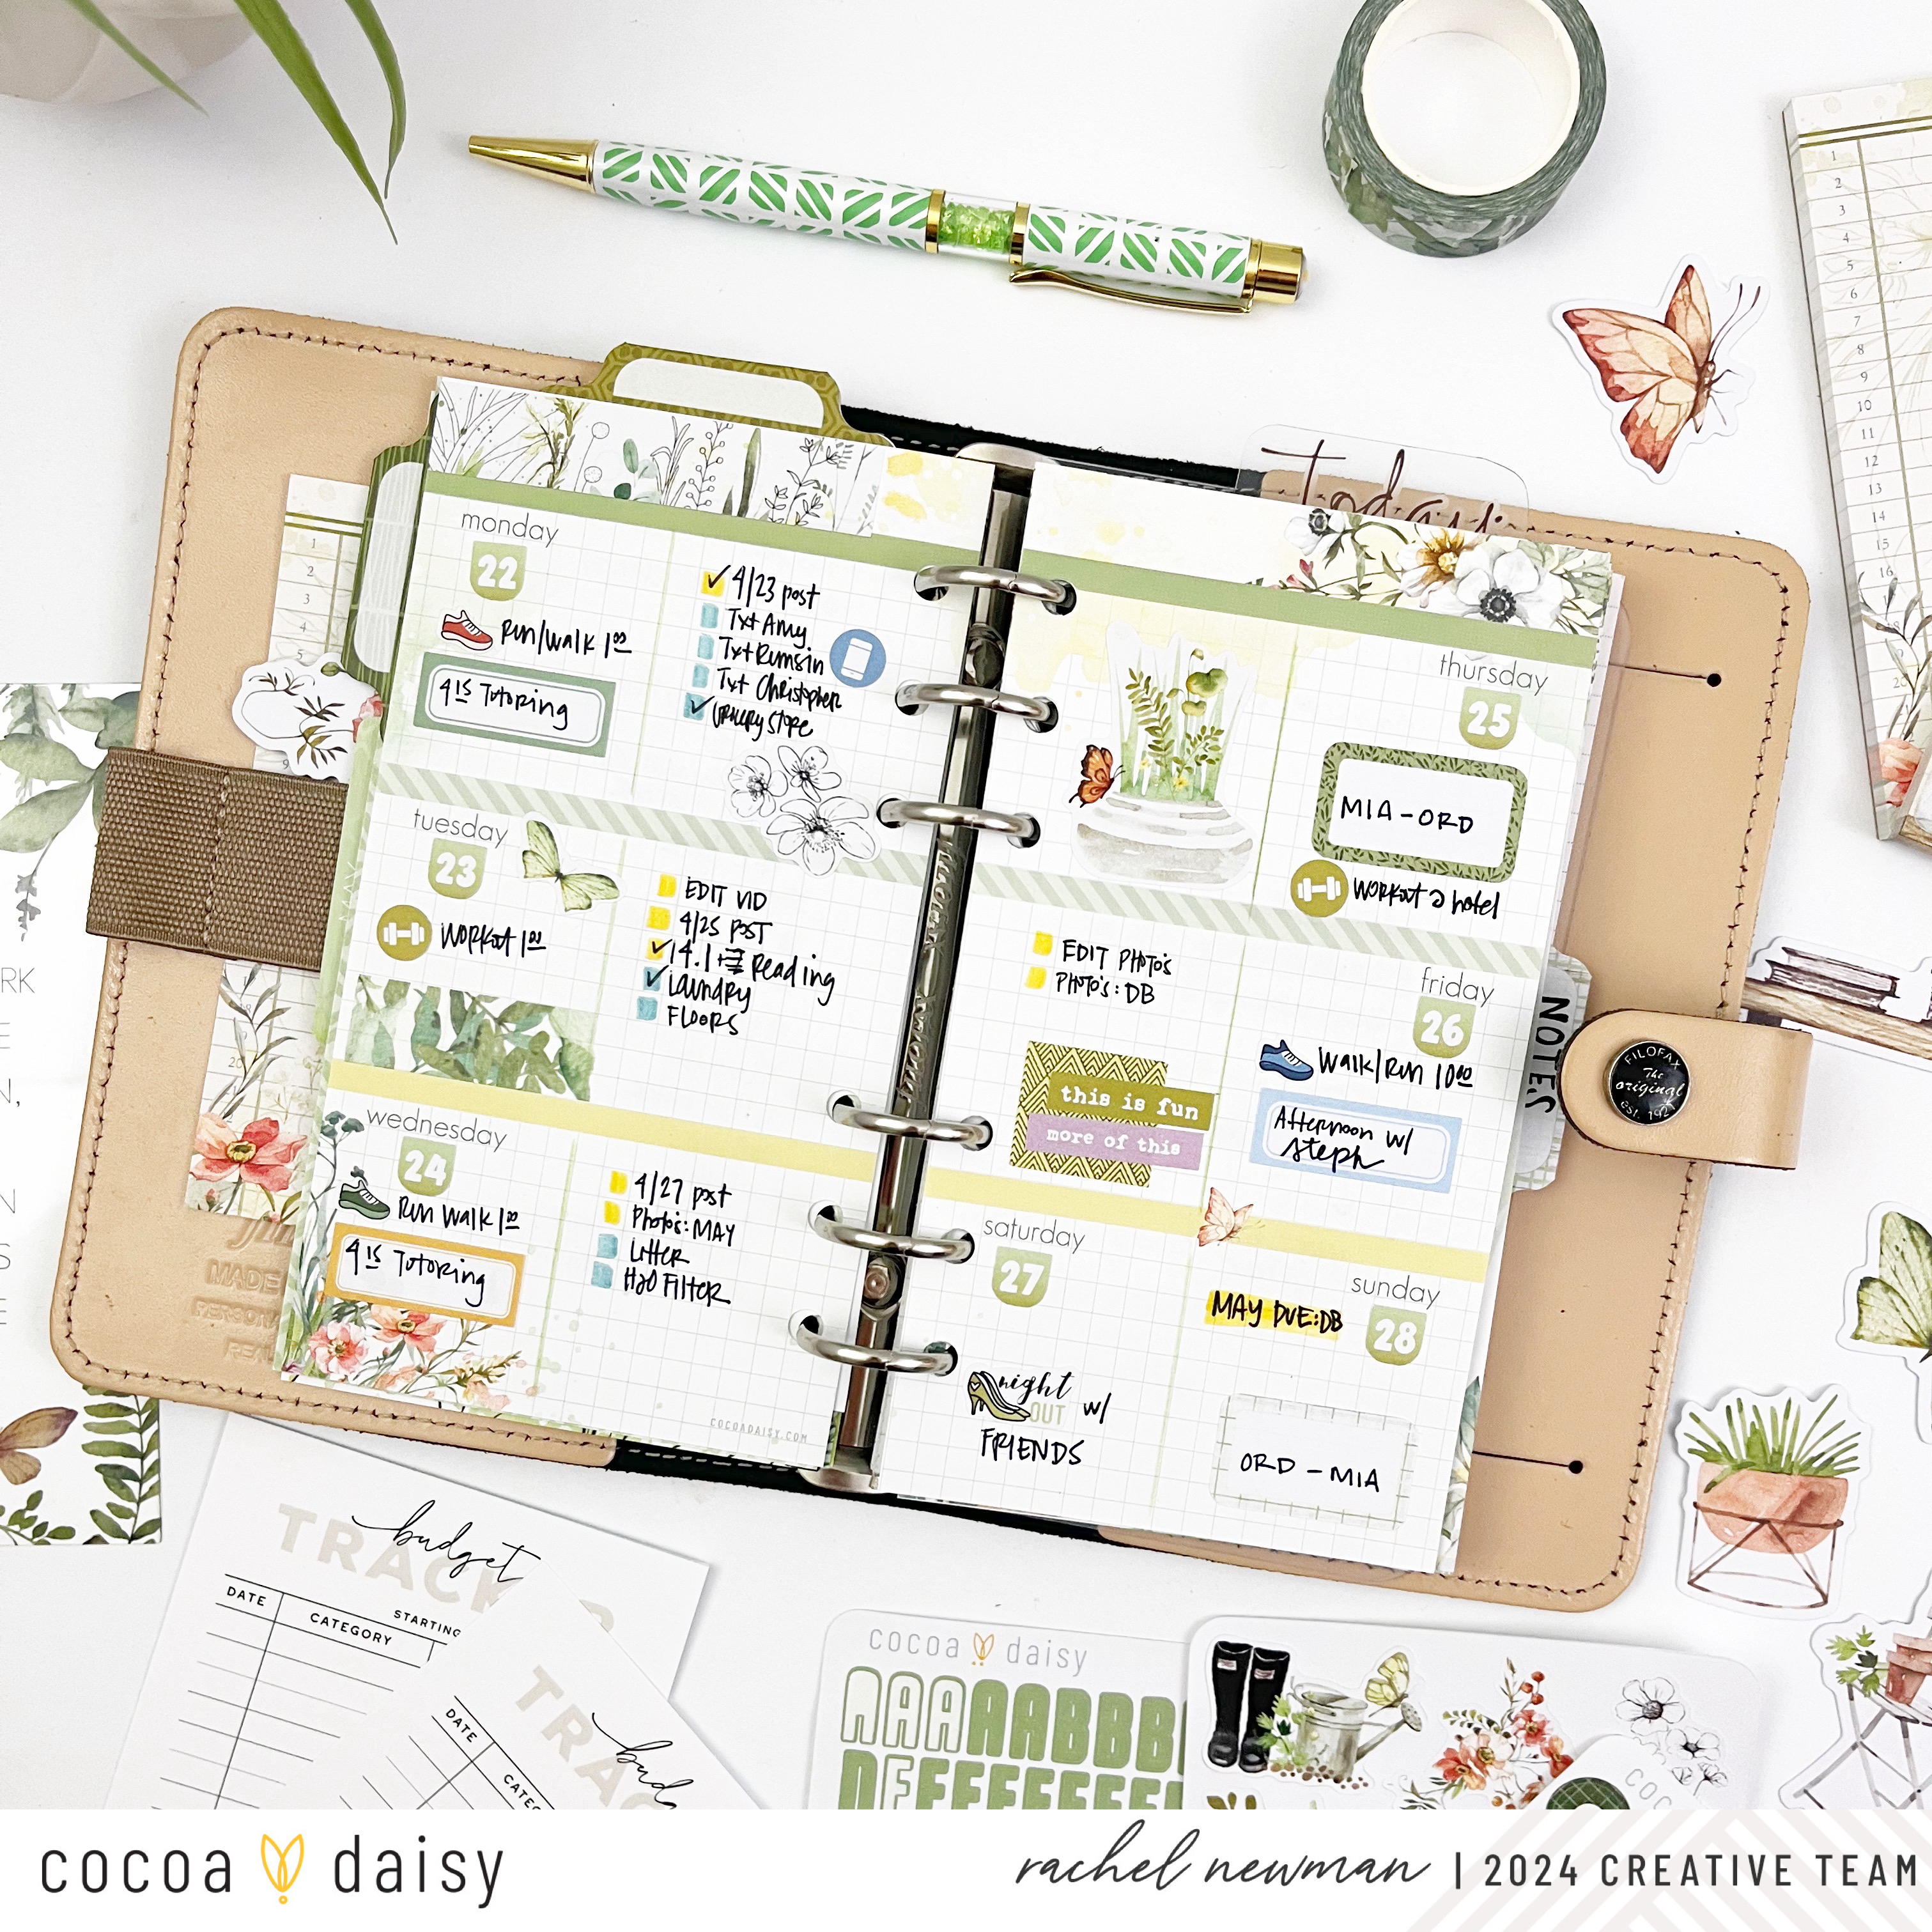
Because I divided up the From the Garden Daisy Standard Notebook, it was really easy to move the pages around as I like them with the weekly striped pages in front of 6 daily pages. It is also easy to add so many things like journal cards, sticky notes, and helpful budget tracker sheets, found in the From the Garden Planner Kit, within each week.
I did put a pocket on the inside front cover for the smallest stickers we received but I needed a spot for the 3x4 cards. Taking the overlay sheet, folding it in half, securing the top and bottom ends, then punching it was the perfect solution for carrying my stickers on the go. I slit each of the punches so I can move it week to week and be sticker ready at any time! Check out the process in this reel!